IKEv2 EAP between NordVPN and RouterOS
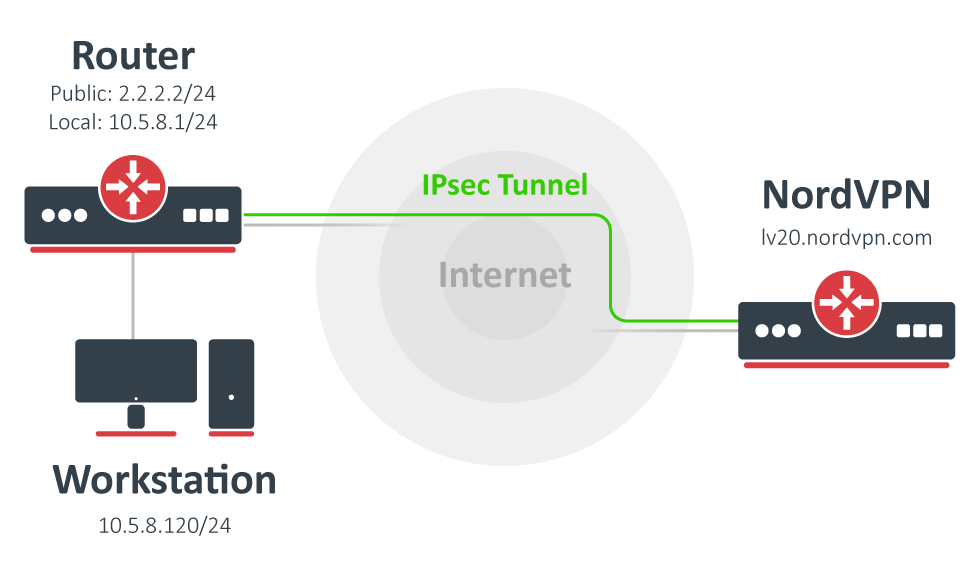
Starting from RouterOS v6.45, it is possible to establish an IKEv2 secured tunnel to NordVPN servers using EAP authentication. This manual page explains how to configure it.
Installing the root CA
Start off by downloading and importing the NordVPN root CA certificate.
/tool/fetch url="https://downloads.nordvpn.com/certificates/root.der"
/certificate/import file-name=root.der
There should now be the trusted NordVPN Root CA certificate in the System/Certificates menu.
[admin@MikroTik] > /certificate/print where name~"root.der"
Flags: K - private-key, L - crl, C - smart-card-key, A - authority, I - issued, R - revoked, E - expired, T - trusted
 #         NAME            COMMON-NAME            SUBJECT-ALT-NAME                                         FINGERPRINT
 0       T root.der_0      NordVPN Root CA                                                                 8b5a495db498a6c2c8c...
Finding out the server's hostname
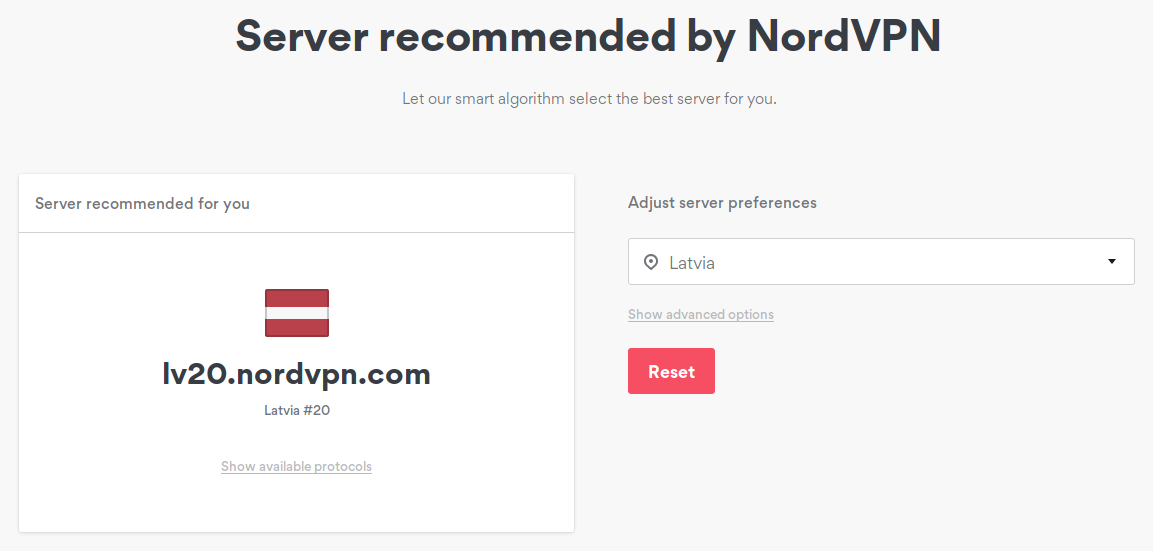
Navigate to https://nordvpn.com/servers/tools/ and find out the recommended server's hostname. In this case, it is lv20.nordvpn.com.
Setting up the IPsec tunnel
It is advised to create a separate Phase 1 profile and Phase 2 proposal configurations to not interfere with any existing or future IPsec configuration.
/ip/ipsec/profile
add name=NordVPN
/ip/ipsec/proposal
add name=NordVPN pfs-group=none
While it is possible to use the default policy template for policy generation, it is better to create a new policy group and template to separate this configuration from any other IPsec configuration.
/ip/ipsec/policy/group
add name=NordVPN
/ip/ipsec/policy
add dst-address=0.0.0.0/0 group=NordVPN proposal=NordVPN src-address=0.0.0.0/0 template=yes
Create a new mode config entry with responder=no that will request configuration parameters from the server.
/ip/ipsec/mode-config
add name=NordVPN responder=no
Lastly, create peer and identity configurations. Specify your NordVPN credentials in the username and password parameters.
/ip/ipsec/peer
add address=lv20.nordvpn.com exchange-mode=ike2 name=NordVPN profile=NordVPN
/ip/ipsec/identity
add auth-method=eap certificate="" eap-methods=eap-mschapv2 generate-policy=port-strict mode-config=NordVPN peer=NordVPN policy-template-group=NordVPN username=support@mikrotik.com password=secret
Verify that the connection is successfully established.
/ip/ipsec
active-peers print
installed-sa print
Choosing what to send over the tunnel
If we look at the generated dynamic policies, we see that only traffic with a specific (received by mode config) source address will be sent through the tunnel. But a router in most cases will need to route a specific device or network through the tunnel. In such a case, we can use source NAT to change the source address of packets to match the mode config address. Since the mode config address is dynamic, it is impossible to create a static source NAT rule. In RouterOS it is possible to generate dynamic source NAT rules for mode config clients.
Option 1: Sending all traffic over the tunnel
In this example, we have a local network 10.5.8.0/24 behind the router and we want all traffic from this network to be sent over the tunnel. First of all, we have to make a new IP/Firewall/Address list which consists of our local network.
/ip/firewall/address-list
add address=10.5.8.0/24 list=local
It is also possible to specify only single hosts from which all traffic will be sent over the tunnel. Example:
/ip/firewall/address-list
add address=10.5.8.120 list=local
add address=10.5.8.23 list=local
When it is done, we can assign the newly created IP/Firewall/Address list to mode config configuration.
/ip/ipsec/mode-config
set [ find name=NordVPN ] src-address-list=local
Verify correct source NAT rule is dynamically generated when the tunnel is established.
[admin@MikroTik] > /ip/firewall/nat/print
Flags: X - disabled, I - invalid, D - dynamic
 0  D ;;; ipsec mode-config
      chain=srcnat action=src-nat to-addresses=192.168.77.254 src-address-list=local dst-address-list=!local
Warning
Make sure the dynamic mode config address is not a part of the local network.
Important: It is also possible to combine both options (1 and 2) to allow access to specific addresses only for specific local addresses/networks.
Option 2: Accessing certain addresses over the tunnel
It is also possible to send only specific traffic over the tunnel by using the connection-mark parameter in the Mangle firewall. It works similarly to Option 1 - a dynamic NAT rule is generated based on the configured connection-mark parameter under mode config.
First of all, set the connection-mark under your mode config configuration.
/ip/ipsec/mode-config
set [ find name=NordVPN ] connection-mark=NordVPN
When it is done, a NAT rule is generated with the dynamic address provided by the server:
[admin@MikroTik] > /ip/firewall/nat/print
Flags: X - disabled, I - invalid, D - dynamic
 0  D ;;; ipsec mode-config
      chain=srcnat action=src-nat to-addresses=192.168.77.254 connection-mark=NordVPN
After that, it is possible to apply this connection-mark to any traffic using the Mangle firewall. In this example, access to mikrotik.com and 8.8.8.8 is granted over the tunnel.
Create a new address list:
/ip/firewall/address-list
add address=mikrotik.com list=VPN
add address=8.8.8.8 list=VPN
Apply connection-mark to traffic matching the created address list:
/ip/firewall/mangle
add action=mark-connection chain=prerouting dst-address-list=VPN new-connection-mark=NordVPN passthrough=yes
It is also possible to combine both options (1 and 2) to allow access to specific addresses only for specific local addresses/networks